Nine ways to look at one scene
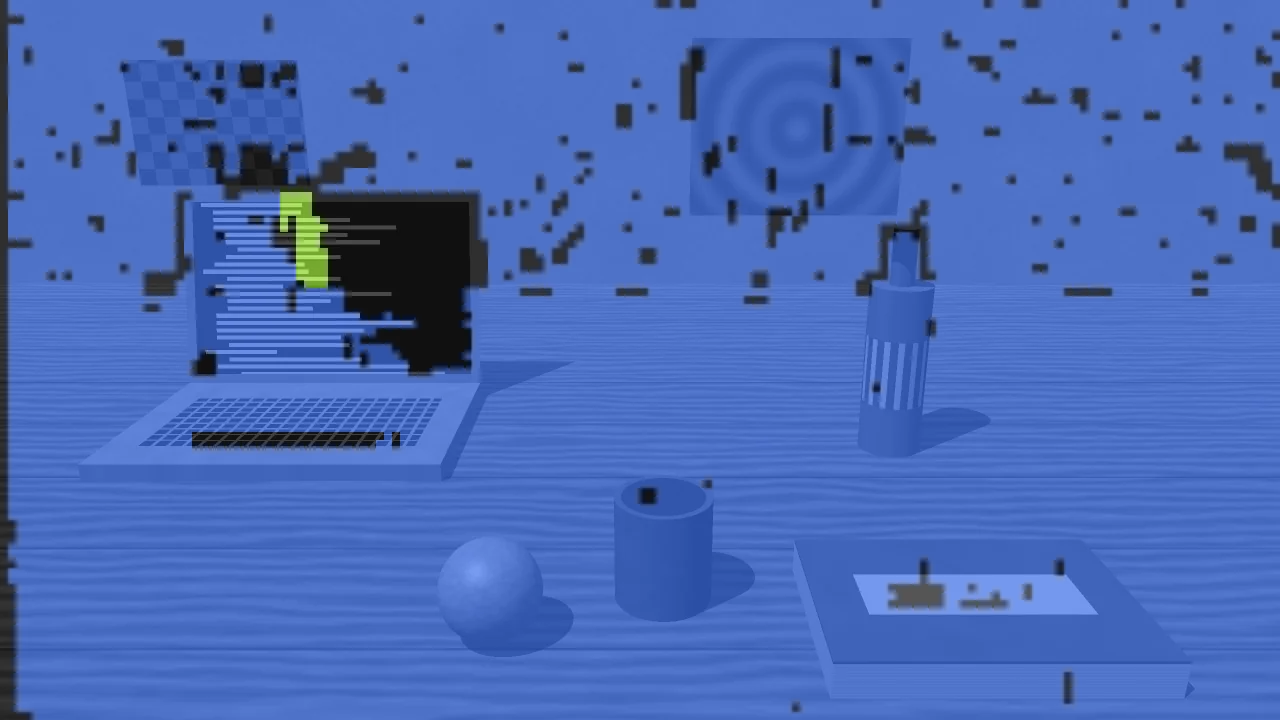
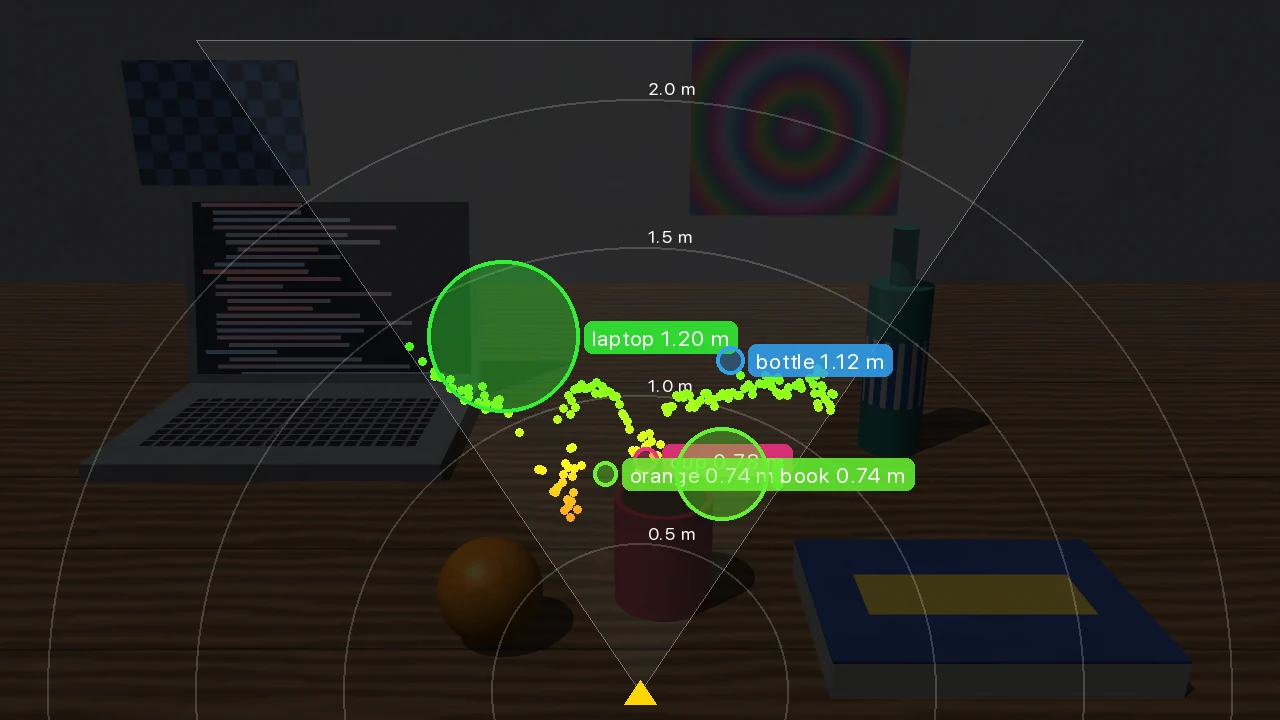
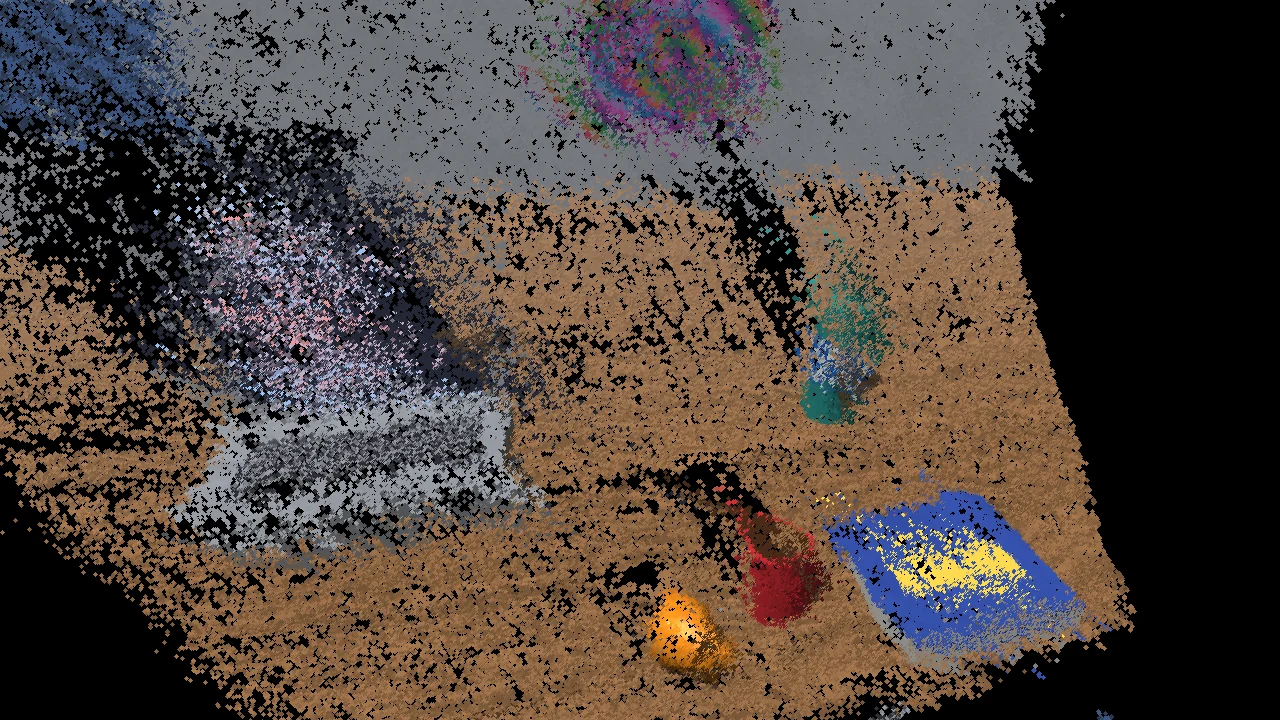
One tap in the side panel switches what the app draws: the camera image with every object labeled, depth as color, the raw stereo signal, a top-down map or the scene in 3D.
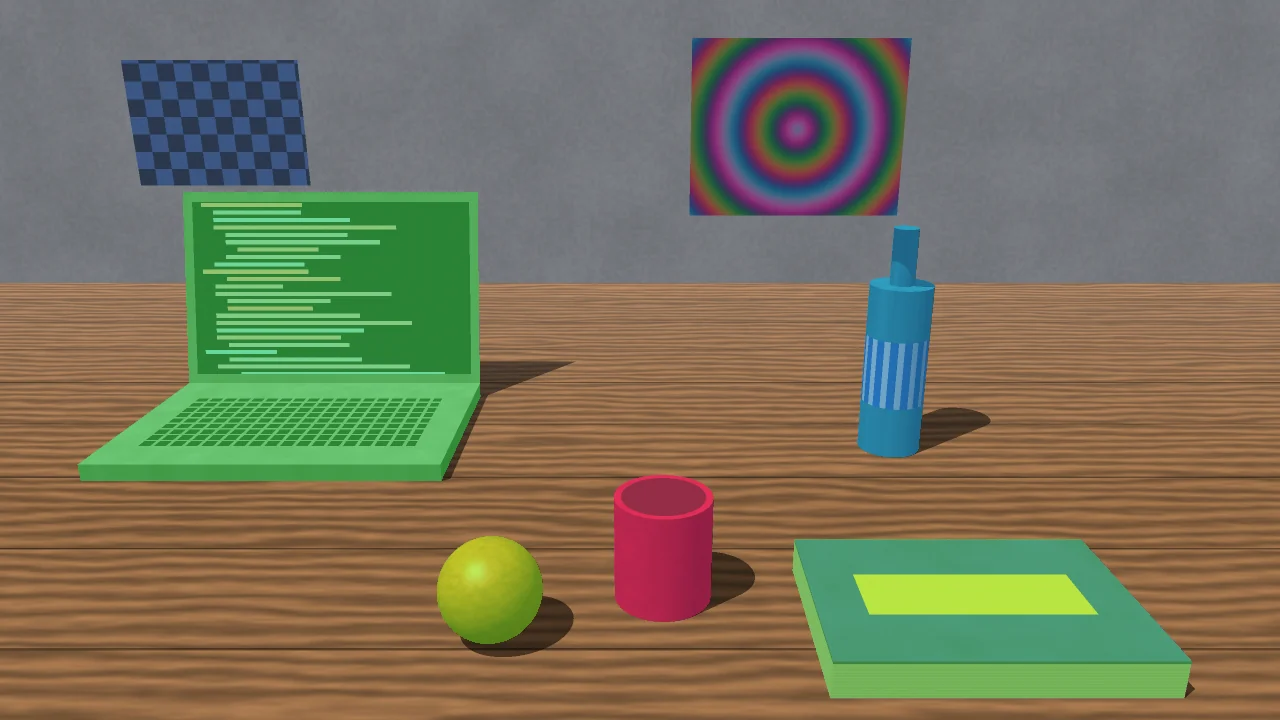
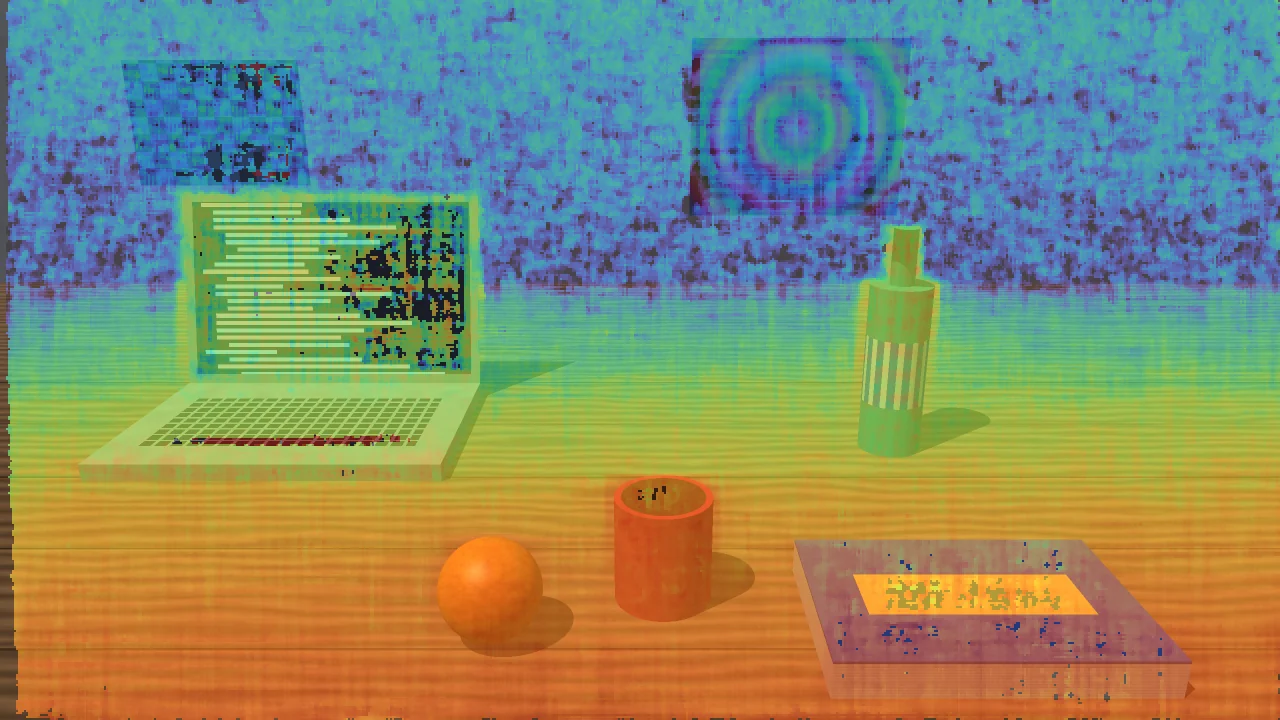
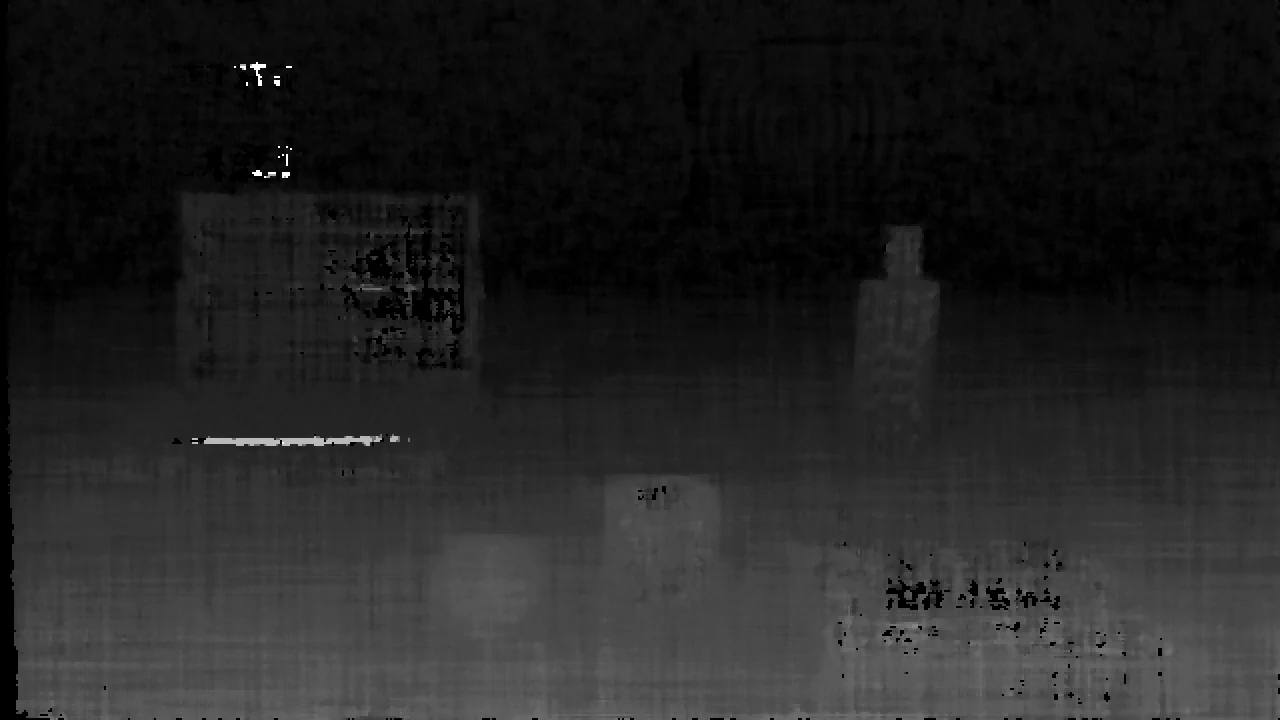
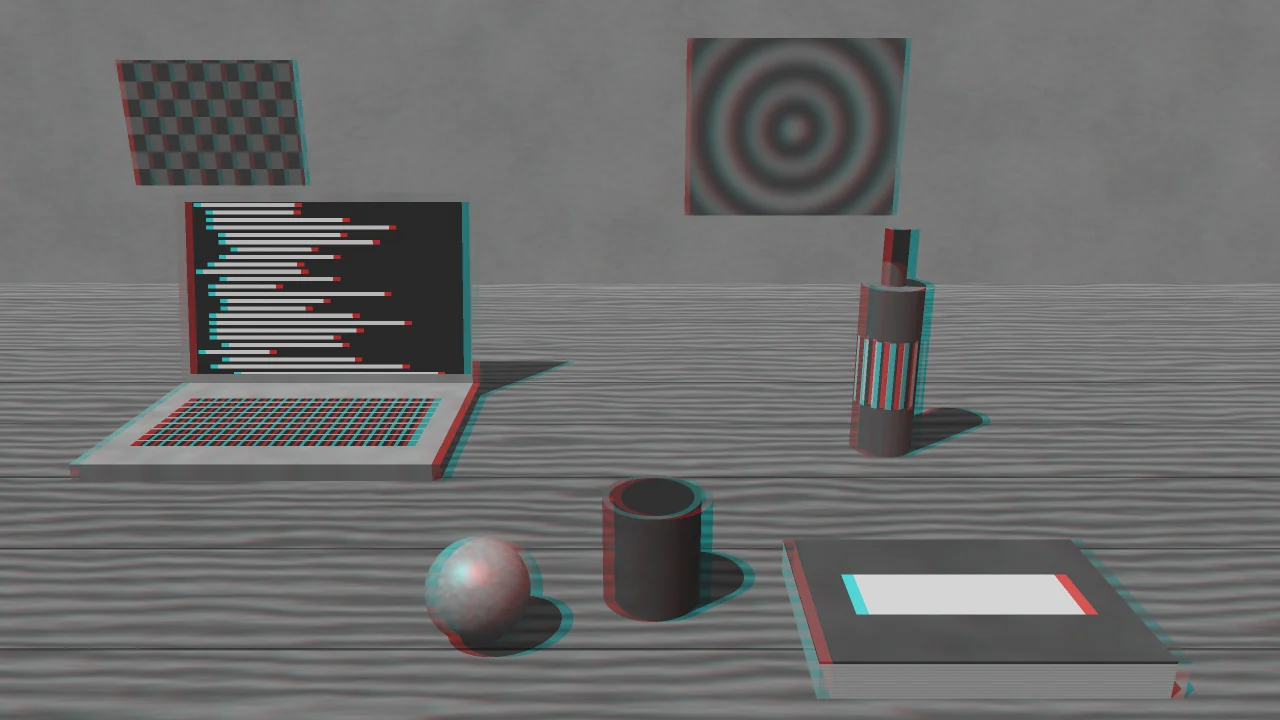
Standard. The camera image with object masks, boxes, labels, distance and approximate size.
Two images in, one distance out
Seven steps run on the phone’s GPU for every frame. All of them are written from scratch in Metal, except object recognition.
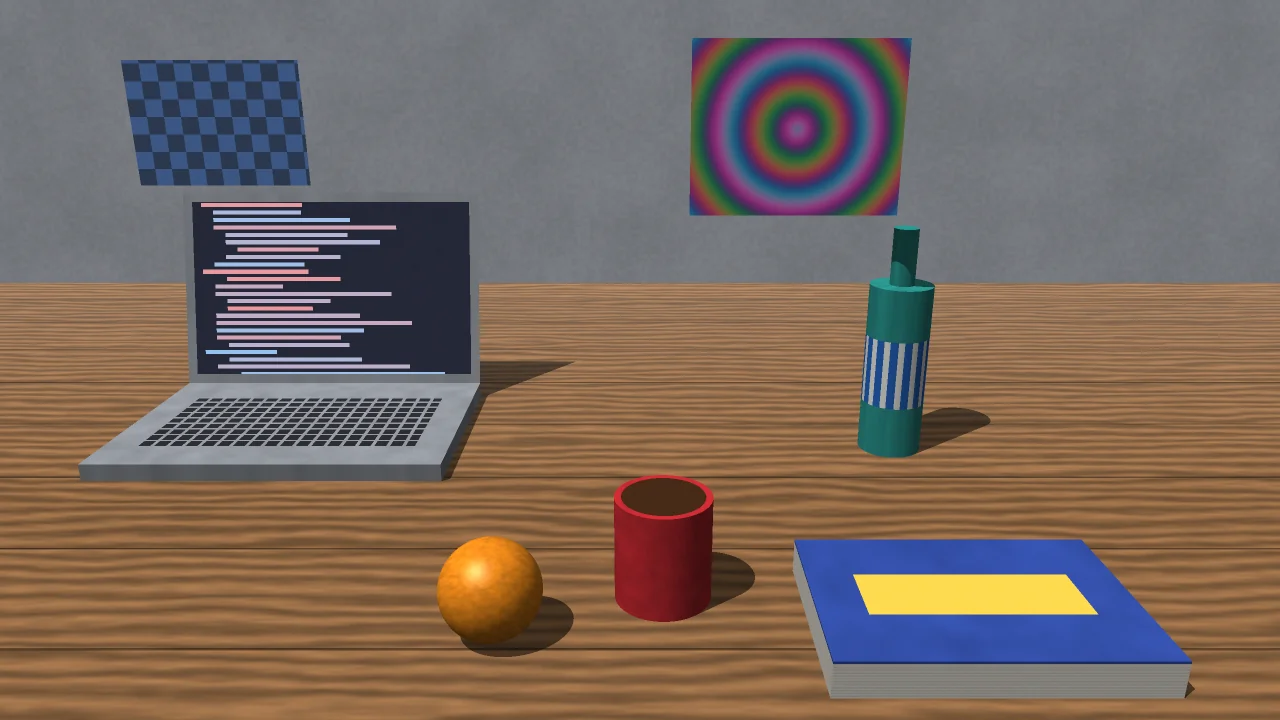
Capture
Both cameras run in one synchronized session, so the two frames share the same instant.
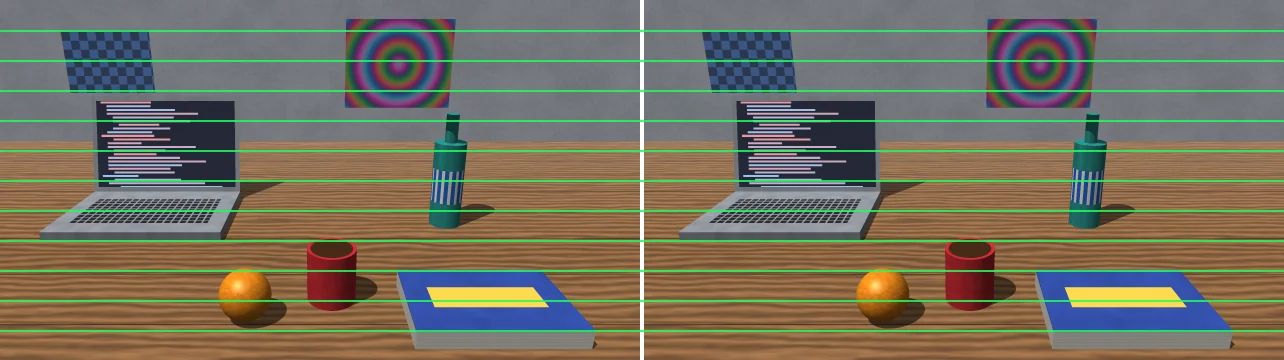
Rectify
Both views are re-projected with the iOS calibration until matching points share a row.
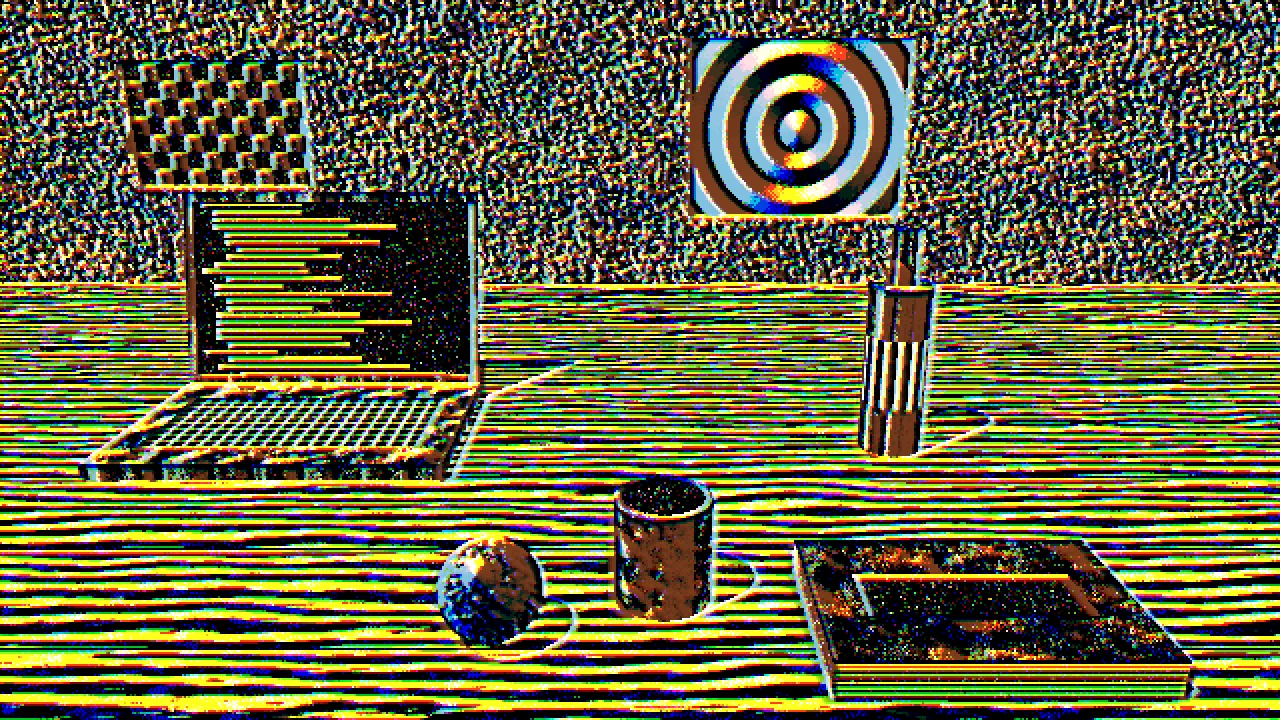
Census
Each pixel becomes a 48-bit fingerprint of its 7×7 neighborhood, immune to exposure differences.
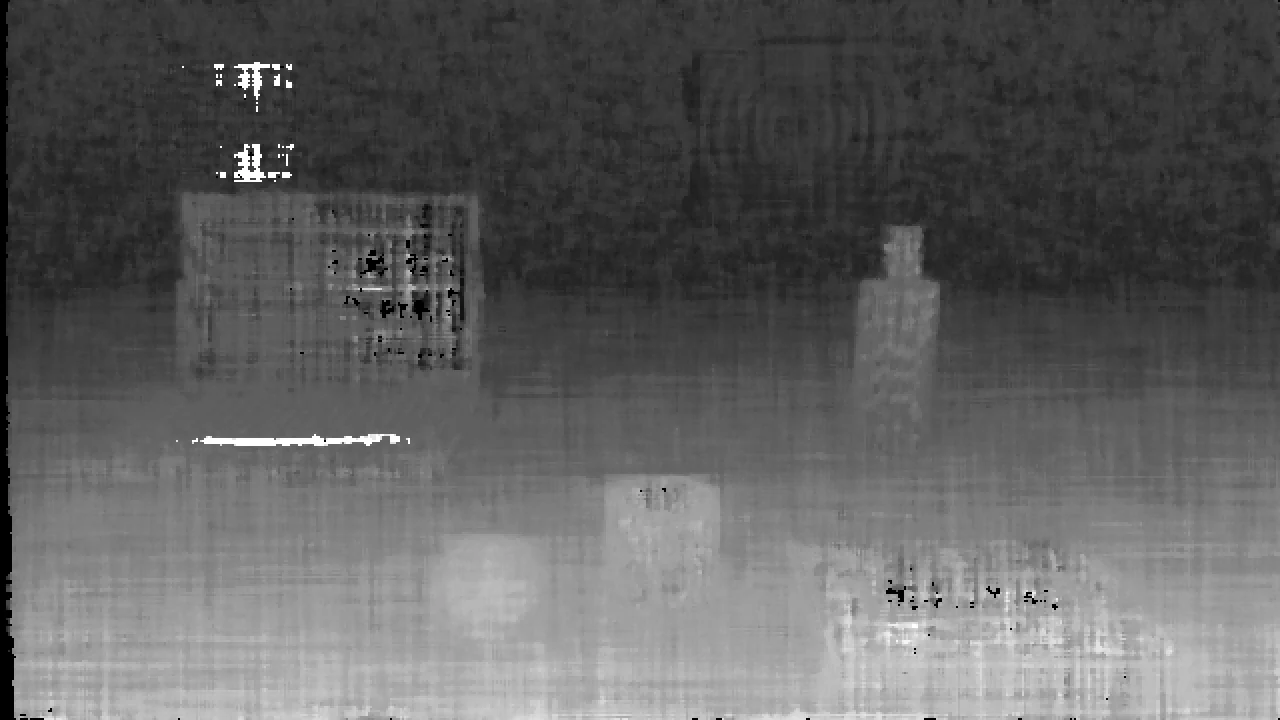
Match
Every candidate shift gets a cost; semi-global matching smooths it along four directions.
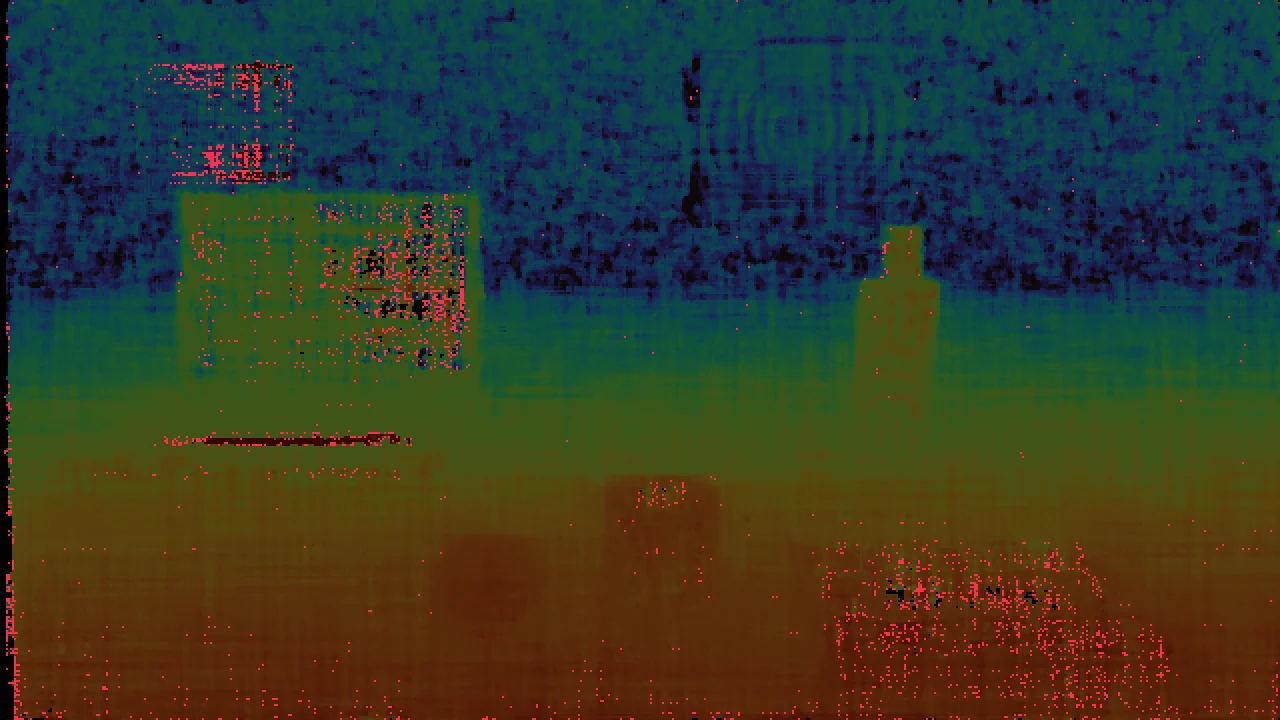
Check
The match is recomputed from the other view. Pixels where the two disagree, in red, are dropped.
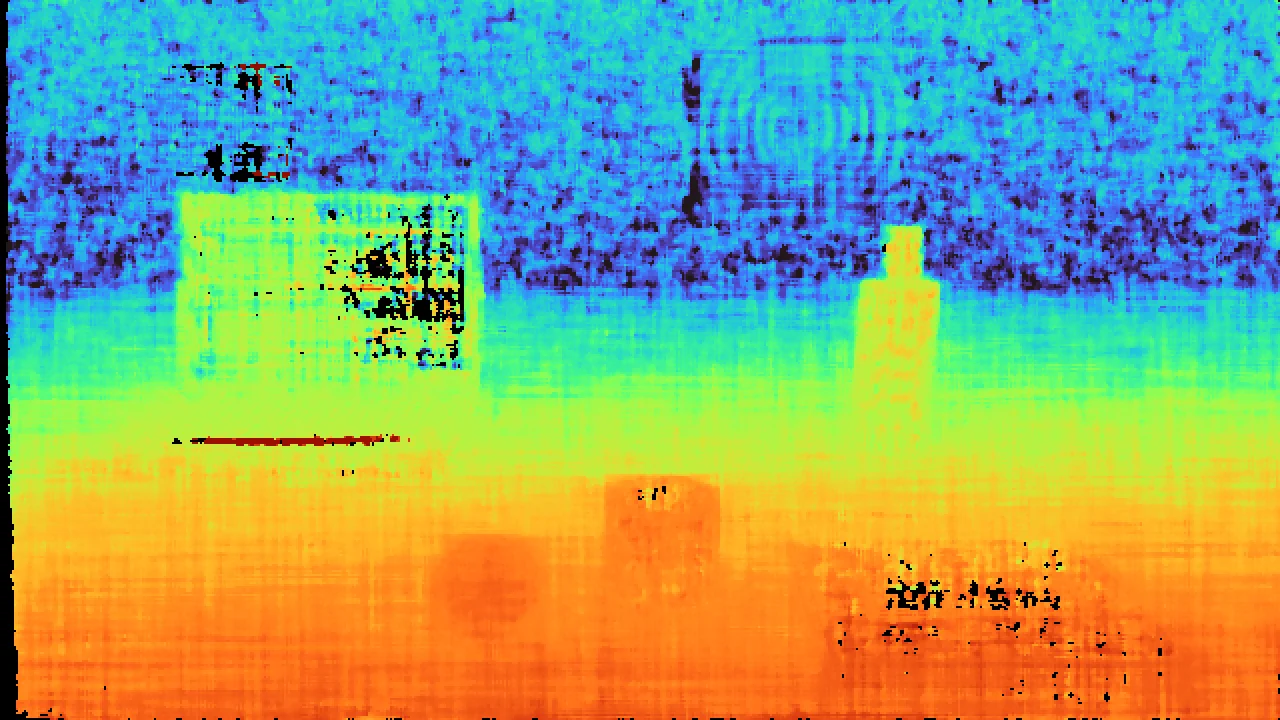
Triangulate
The shift between the views becomes a distance: Z = f·B / d.
Recognize
YOLO11n-seg outlines objects; each takes the median depth inside its outline.
What it's good for
I built StereoVision as a personal study project, to get a hands-on feel for what my Artificial Vision lectures covered. These are the things it turned out to be good at.
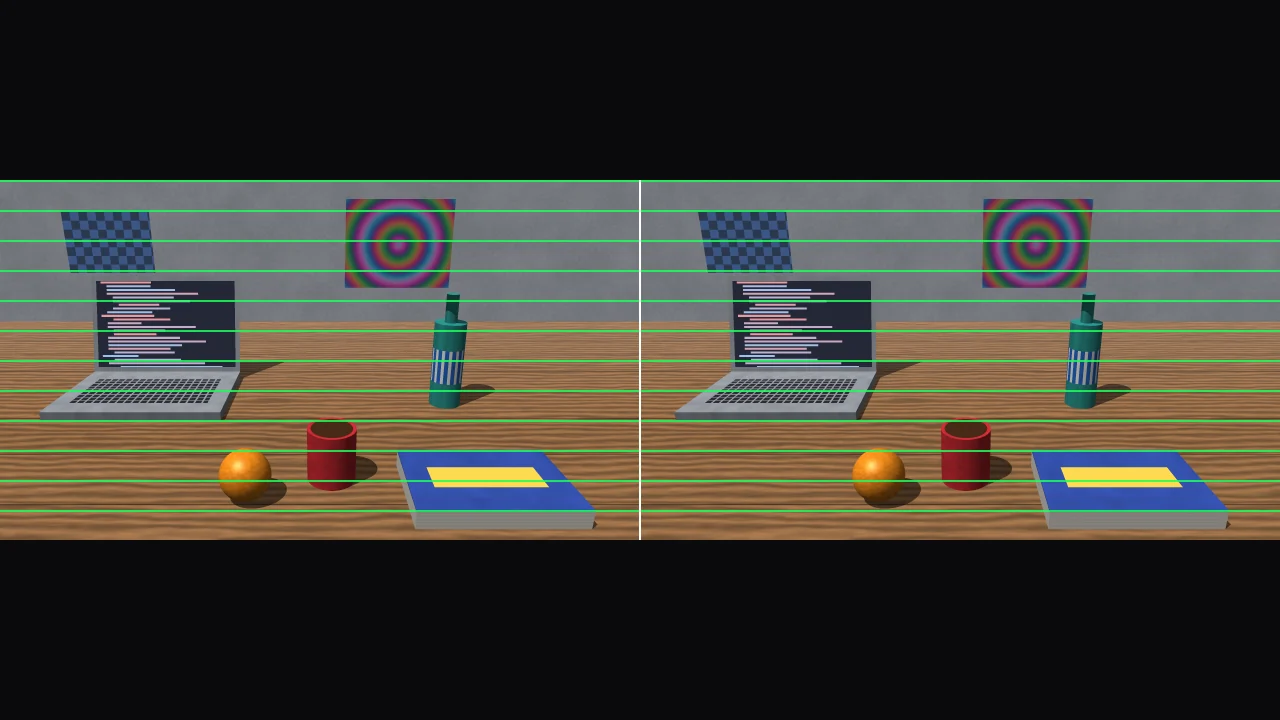
See epipolar geometry
Rectified pair shows both views with the epipolar lines drawn in. Every match lies on the same row, which is why the search is one-dimensional.
Compare algorithms live
Block matching or SGM, left-right check on or off, Apple's own Dual-Wide depth, or LiDAR on Pro models: all on the same frame.
Tune it until it breaks
Change the disparity range, the smoothness penalties and the uniqueness threshold, and watch exactly where matching starts to fail.
Measure real objects
Every recognized object gets a distance, a sideways offset and an approximate size. Tap the image to measure any single point.
Walk around the scene
The point cloud view turns depth back into geometry you can orbit, like the one at the top of this page.
Record a demo
Any view records to video with every overlay, for the presentation where a live demo isn't an option.
Take a frame home
Every photo also saves its raw data to the Files app, ready for Python, OpenCV or MeshLab. Videos and photos of the current view, overlays included, go to Photos.
rgb.pngthe color image the depth refers todepth_mm.png16-bit depth in millimeters, 0 where unknowncloud.plycolored point cloud in metersmeta.jsonintrinsics, baseline, settings and detected objectsview.pngexactly what was on screen
import cv2, json
depth = cv2.imread("depth_mm.png", -1) / 1000
K = json.load(open("meta.json"))["intrinsics"]
Why semi-global matching
Finding the same point in both images is the hard part of stereo vision. How the app does it decides whether a white wall comes out as a smooth surface or as a field of holes.
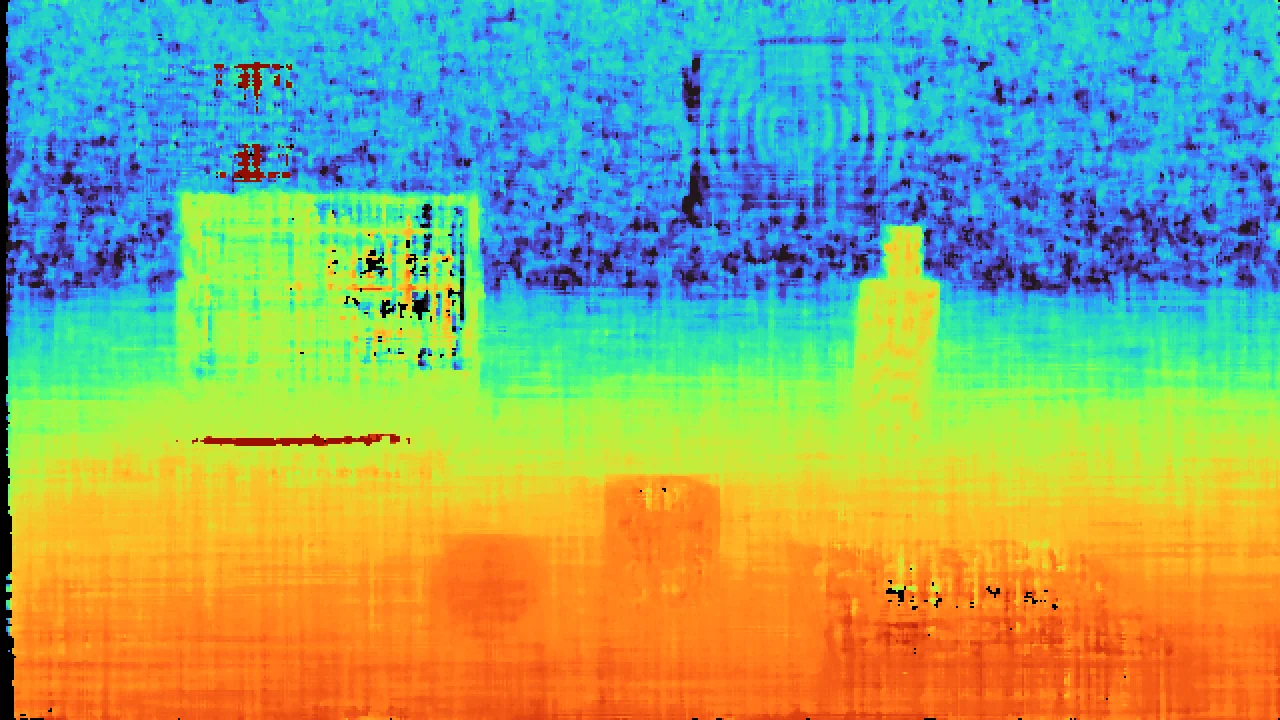
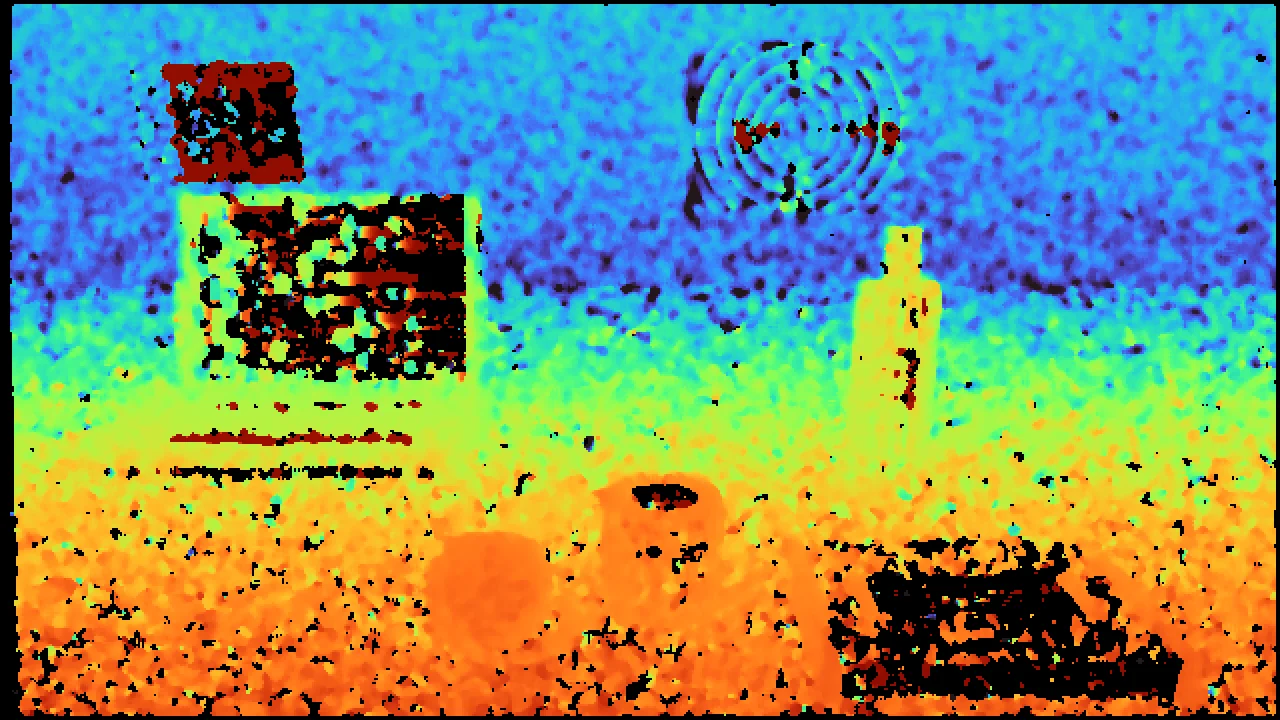 Block matchingSGM
- Block matching looks at each pixel alone
- It compares a small window around every pixel and keeps the best shift. Where the surface has little texture, many shifts look equally good, and the result is holes and speckles.
- SGM asks the neighbors
- Semi-global matching adds a cost for changing distance from one pixel to the next, gathered along four directions. Flat areas fill in, while real edges, where the jump is worth paying for, stay sharp.
- The left-right check removes what can’t be trusted
- The match is computed again starting from the other camera. Where the two answers disagree, mostly along the borders of objects that hide what’s behind them, the pixel is marked unknown instead of guessed.
Where it stops working
The two lenses sit about 1 cm apart, against roughly 6.5 cm between human eyes. That one number sets most of the limits.
Distance Z from the focal length f (about 470 px), the baseline B (about 1 cm) and the disparity d. At d = 1 px, Z ≈ 4.7 m: the farthest the app can tell apart from infinity.
Differentiate and the error grows with the square of the distance. Twice as far means four times less precise, so beyond 2 to 3 m the readings are mostly noise.
± 4.3 cm
expected depth error at 1.00 m with 0.2 px matching accuracy
Scenes that fool stereo vision
- Textureless surfaces
- White walls and plain tables give the matcher nothing to compare. SGM fills some in from the edges; the rest stays black.
- Reflections and glass
- Mirrors, windows and screens show a reflection, and the app measures the distance to that instead of the surface.
- Repeating patterns
- Tiles, grids and blinds offer many equally good matches, so the wrong one sometimes wins.
- Occlusion borders
- A strip beside every foreground object is visible to only one camera. The left-right check marks it as invalid.
- Thin structures
- Cables and chair legs are often narrower than the matching window and get smoothed away.
- Low light and motion
- Sensor noise and motion blur erase the fine texture matching relies on.